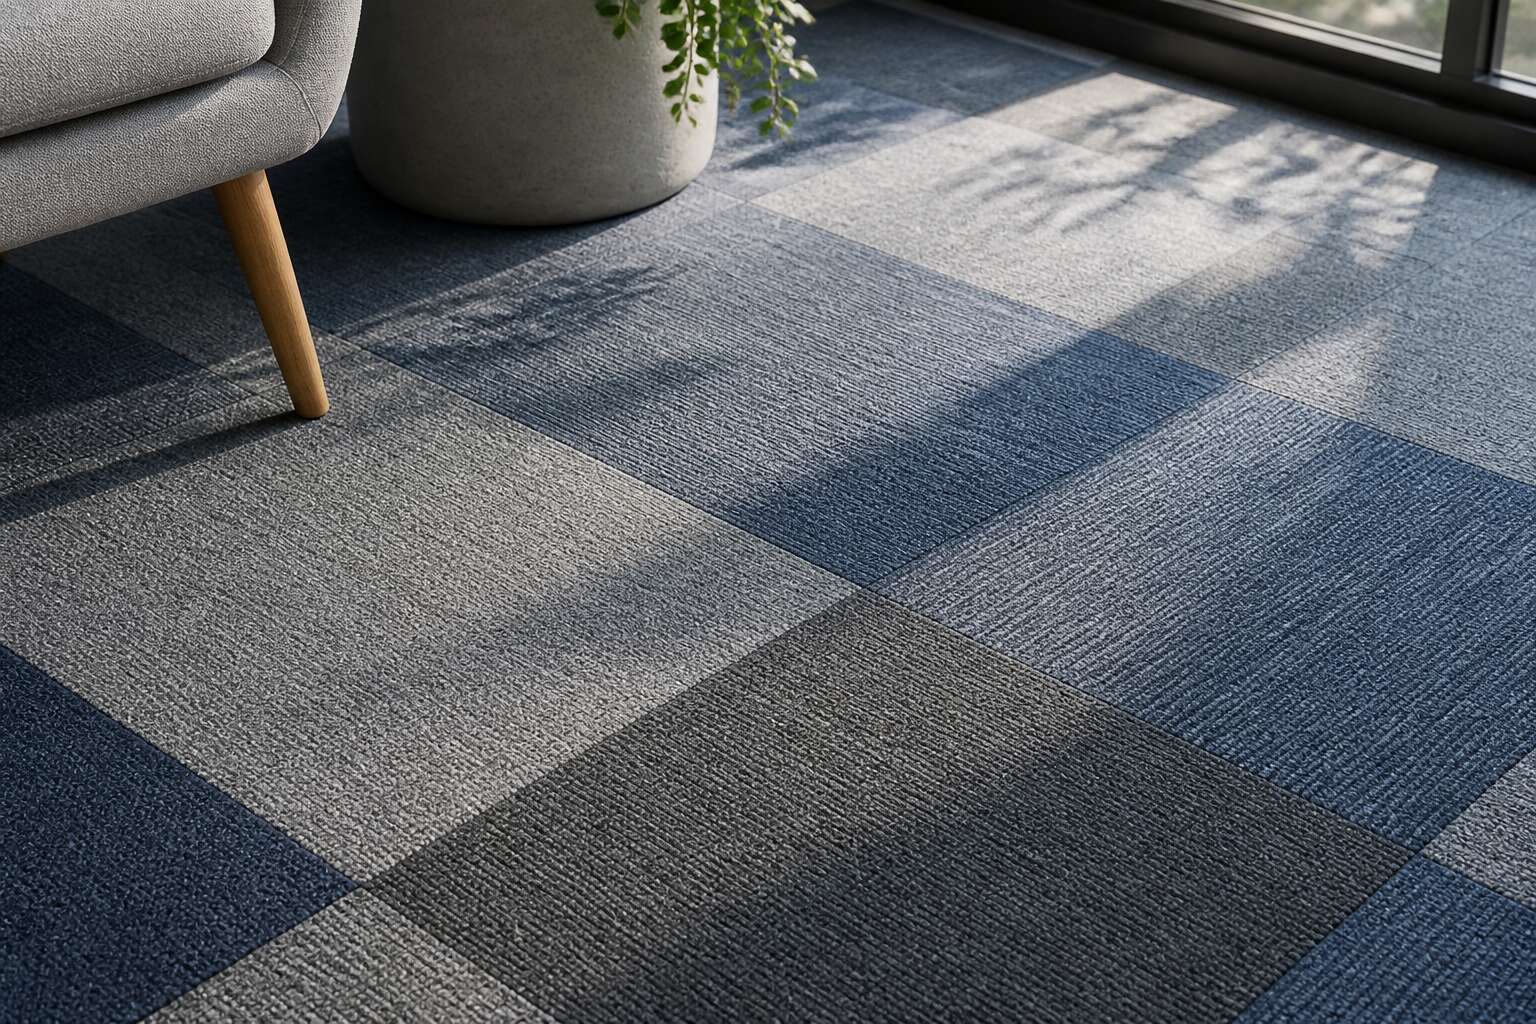
Why the 40cm by 40cm Tile Format Stands Out
Maximizing Layout Efficiency in Compact Spaces
When space is at a premium, every centimetre counts. The carpet tiles 40cm x 40cm format offers a practical balance, reducing cutting waste while allowing intricate patterns to emerge from a small footprint.
In a compact South African office or rental unit, this size permits precise alignment around doorways and built-in cabinetry. The tiles can be rotated to distribute wear evenly, lengthening the floor’s lifespan.
Consider what this modularity unlocks:
- Simplified replacement of damaged sections
- Adaptable layouts for irregular room shapes
- Minimal subfloor preparation
I have seen installers complete a tight corridor in under an hour. The seams stay hidden, and the visual rhythm feels deliberate. Efficiency becomes the core advantage of carpet tiles 40cm x 40cm.
Lightweight Handling and Easy Transportation
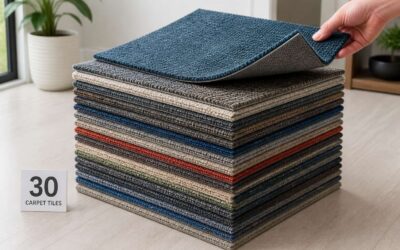
Each tile weighs less than a bag of groceries. You can stack twenty carpet tiles 40cm x 40cm in the back of a bakkie and still have room for tools. For a contractor in Durban or a homeowner in Pretoria, that removes the delivery hassle. No flatbed. No waiting. No scheduling drama!
Handling follows the same principle. One hand grips a tile securely, and a single person carries enough for an average bedroom in one trip. The format reduces on-site fatigue and makes staircases less intimidating.
- Standard sedan boots hold multiple packs without folding or bending
- One installer can transport and install without a helper
- No specialised lifting equipment or vehicle modifications required
Because carpet tiles 40cm x 40cm have a rigid, uniform construction, boxes stay stable during transit. I have yet to see damaged edges from a standard trip. That means less waste before installation even begins.
Unlocking Creative Pattern and Color Possibilities
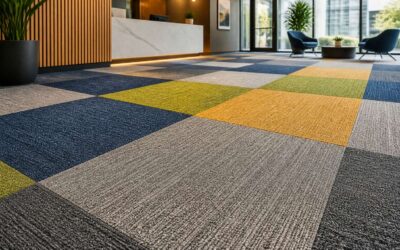
The 40cm by 40cm tile format changes how a room takes shape. Broadloom commits you to one colour across an entire floor; carpet tiles 40cm x 40cm let you compose with colour instead. Lay a neutral field, then introduce a bold border for a formal dining area. Scatter darker tiles in high traffic zones to disguise inevitable markings.
The modular grid invites intentional play. Herringbone, checkerboard, or a subtle quarter turn that shifts the light across the afternoon. For office spaces, pattern can distinguish waiting areas from walkways without a single wall. Carpet tiles 40cm x 40cm make pattern experimentation low risk. Consider the options:
- Checkerboard for classic symmetry
- Quarter turn to soften a large floor
- Striped bands to guide movement
Because each unit is small, slight tonal variations between dye lots read as texture, not error. That flexibility is a quiet luxury.
Budget Friendly Coverage for Smaller Rooms
An 8 square metre bedroom is common in new Johannesburg developments. Carpet tiles 40cm x 40cm turn that space into an efficient purchase. Each tile covers 0.16 square metres, so a modest room needs just 50 tiles. You buy exact quantities, and off cuts are minimal because the grid fits awkward corners without wasting a full roll of broadloom.
Budget friendly coverage depends on precision. Broadloom demands professional fitting and a generous surplus. This format sidesteps that overhead. A 3 by 4 metre room keeps the numbers simple, and the final price stays disciplined. For a first home, a rental, or a home office in South Africa, the format delivers a finished floor at a reasonable cost.
Comparing Modular Flexibility Against Broadloom Carpet
Modular flexibility changes how a floor behaves over time. Broadloom treats a room as one continuous surface, so a single stain or a damaged section becomes a major event. Carpet tiles 40cm x 40cm work differently. Each tile lifts independently, meaning a coffee spill in the wrong spot no longer ruins the whole floor.
The practical benefits show up in daily use:
- Underfloor cables and data lines stay accessible by lifting a few tiles.
- Damaged tiles can be swapped with spares from the original batch.
- High traffic areas can be rotated with tiles pulled from under furniture.
Broadloom offers none of that. Once it is glued down, every repair involves cutting, patching, or full replacement. Carpet tiles 40cm x 40cm keep the floor adaptable, which matters in offices, studios, and homes where layouts change without warning.
Materials and Construction Quality
Fiber Face Options and Their Durability Profiles
Carpet tiles 40cm x 40cm are deceptively simple, yet their construction quality determines whether they survive a decade or a single rainy season. The backing, typically bitumen or PVC, anchors the tile and resists moisture. A higher face weight, measured in grams per square metre, prevents crushing under heavy chairs.
Fiber face options offer distinct durability profiles. Polyamide, or nylon, handles abrasion and stains exceptionally well. Polypropylene repels water but tends to flatten. Wool provides softness yet demands careful maintenance. I have seen these common choices in action:
- Nylon: ideal for high traffic offices
- Polypropylene: suited for temporary spaces
- Wool: reserved for quiet lounges
Each option carries tradeoffs, so the right choice must match your foot traffic and cleaning routine.
Backing Systems and Structural Longevity
The backing of carpet tiles 40cm x 40cm decides how long the floor holds together, yet it stays hidden beneath the surface. A quality bitumen backing provides dimensional stability, resisting expansion when humidity rises or when heavy trolleys turn sharply. PVC alternatives offer a denser base, though they weigh more and demand careful removal later. I have lifted old tiles where the backing crumbled into powder and others where the structure held firm for fifteen years. The difference rests in glass fibre reinforcement and the binder’s formulation.
A solid backing also prevents edge curling, which turns a clean installation into a trip hazard. Common indicators of structural longevity include:
– Glass fibre reinforcement layers
– Density ratings on the bitumen or PVC base
– Warranties that extend beyond five years
These details remain invisible once the tiles are laid, but they separate a floor that endures from one that fails. For carpet tiles 40cm x 40cm, the backing is the quiet variable that determines whether your installation becomes a long-term asset or a costly replacement.
Tile Density and Weight Considerations
In the world of flooring, a tile’s density reveals more than its weight. Carpet tiles 40cm x 40cm with a dense construction resist indentation from heavy furniture and the relentless press of foot traffic. I have pressed my thumb into cheap tiles that gave way immediately. The dense ones hold firm, a quiet certainty that the floor will not fail you.
Weight matters for installation and transport. Heavier tiles often signal better materials, but they test your back and your trolley. When lifting a stack of these carpets, you feel the difference. A tile that weighs around 5.5 kilograms per square metre offers balanced density without becoming a burden.
Before installation, inspect the tile’s internal structure. Dense needled felt or a sturdy mineral core prevents deformation over years. Quality reveals itself in the edges, how they shear cleanly under a knife, and in the face, how tightly the fibres cling.
Moisture Resistance and Mold Prevention
Beneath the surface of every carpet tile 40cm x 40cm, moisture is the true adversary. The materials matter more than the weave. Polypropylene faces resist water, but the real test sits in the backing. A bitumen or PVC base repels liquid that seeps through cracks and spills. The fibres themselves should not absorb; they should shed.
Mold thrives in dark, forgotten corners. In coastal regions like Durban, humidity presses against every seam. Construction quality determines whether your floor stays dry or rots slowly. Dense backing systems with closed-cell structures leave no harbour for spores. A properly sealed carpet tile 40cm x 40cm denies moisture any passage.
- Closed-cell backing prevents moisture migration
- Fibre treatments inhibit fungal growth
- Edge sealing stops capillary action
These specifications matter when the winter rains arrive and the air grows heavy with salt and mist.
Acoustic Performance and Thermal Insulation Benefits
Sound behaves differently in a room with carpet. Every footstep, every dropped pen, every muffled conversation gets absorbed rather than bounced back. Carpet tiles 40cm x 40cm change the acoustic character of a space through simple physics. The dense pile converts sound energy into heat through friction, leaving the room quieter and clearer for conversation.
Thermal insulation follows the same construction principles. The fibres trap air in tiny pockets, and still air is a poor conductor of heat. Well constructed carpet tiles 40cm x 40cm keep warmth inside during winter and block cold rising from concrete slabs. The quality of the face fibre and the density of the backing determine how effectively the tile performs both roles. Poor construction compromises acoustics and insulation equally.
- Dense pile reduces airborne noise
- Trapped air pockets slow heat transfer
- Construction quality governs both acoustic and thermal performance
Step by Step Installation Guidance
Preparing the Subfloor for a Flawless Finish
Before laying carpet tiles 40cm x 40cm, the subfloor demands scrutiny. A surface that looks clean can still hide residue or unevenness that compromises adhesion. Run your hand across the concrete. If you feel grit or see powdery dust, that is your first clue.
The preparation process follows a logical sequence:
– Check for moisture with a plastic sheet test
– Fill cracks and depressions with a levelling compound
– Vacuum thoroughly to remove loose particles
– Apply a primer suited to the substrate
Each step matters. Skipping the primer can cause adhesive to cure unevenly. When the tiles finally settle, the finish depends entirely on what happened before the first tile touched the floor. A little patience here saves significant frustration later.
Choosing Between Glue Down and Peel and Stick Methods
Choosing between glue down and peel and stick for carpet tiles 40cm x 40cm often comes down to how long you plan to stay. Glue down offers a permanent bond; peel and stick lets you change your mind. My recommendation is to test a single tile first.
The installation process itself follows a simple order:
- Dry lay the tiles to check alignment.
- Mark the centre point of the room.
- Apply adhesive for glue down, or remove the liner for peel and stick.
- Press each tile firmly, then roll the surface.
- Trim the edges with a knife.
Work in a grid and keep a wet rag nearby to clean excess glue. This approach gives you solid coverage without surprises.
Planning Tile Layout and Grid Alignment
Layout errors surface at the edges, not the centre. A room that looks square often is not, and that is where planning the grid pays off. Before opening a box, measure both axes of the floor. Carpet tiles 40cm x 40cm divide evenly across many rooms, but the final row may leave a sliver. If that sliver sits under 10cm, shift the grid halfway across to balance the cuts.
I always snap both chalk lines before pulling a tile from its packaging. The midpoint of the room becomes the anchor. Work outward from the anchor, keeping the first tile square.
- Mark the midpoint of each wall.
- Snap perpendicular chalk lines across the floor.
- Lay a dry row from centre to wall to confirm fit.
- Adjust the starting point if the end row runs narrow.
Once the lines are down, trust them. The grid carries the whole installation.
Cutting Techniques for Edges, Corners, and Obstacles
Now that the grid is locked, the actual work starts. Cutting carpet tiles 40cm x 40cm requires a sharp hook blade and a straightedge. A dull blade crushes the backing and leaves ragged edges that refuse to lie flat. Score the backing, snap the tile, then cut the mesh. Replace the blade often. Blades are cheap. Your patience is not.
For a pipe or any round obstruction, work in three deliberate moves:
- Mark the pipe centre on the tile face.
- Drill a pilot hole through the backing.
- Cut a relief slot from the hole to the nearest edge.
The slot disappears behind the pipe collar. Door architraves get the same respect: undercut them with a handsaw so the tile tucks beneath. Corners in older South African homes are rarely true, so trace the wall contour onto the tile and trim in small passes. Remove a little at a time. You can always cut more, but you cannot glue back what you hacked away.
Common Installation Mistakes and How to Avoid Them
A seasoned installer once said, “The floor gives no second chances.” That truth becomes obvious when you watch carpet tiles 40cm x 40cm shift under an unseated edge. Begin from your reference line and set each tile with a gentle rock, not a slap. The adhesive needs its full open time. If the glue feels wet, wait. If it feels dry, replace the tile.
The common mistakes all stem from rushing. People slide tiles sideways into the glue, disturbing the backing. They leave the seam roller in the van because it looks like an extra trip.
- Sliding tiles creates a wedge of adhesive under the edge.
- Missing the roller traps air that later becomes a bubble.
- Working from both ends of the room forces a crooked seam.
Each of these errors compounds. When you finally press the last carpet tiles 40cm x 40cm, the earlier sloppiness shows as a wave. The manufacturer’s storage instructions matter too. Stacked tiles need flat, even pressure to remain square. Remove each tile from the box and lay it flat for an hour before cutting. That single step eliminates most warping problems.
Maintenance and Longevity Strategies
Routine Vacuuming and Spot Cleaning Best Practices
Most floor covering failures trace back to a single overlooked spill. A quick response matters more than any expensive cleaner. For carpet tiles 40cm x 40cm, the modular format genuinely simplifies the care process. You can address stains without rescheduling your entire room schedule!
Here are the routines that keep edges intact:
- Vacuum weekly with a suction-only head to avoid fraying.
- Blot spills immediately with a dry cloth, never rub.
- Use a pH-neutral spot cleaner for protein based marks.
I have seen tile faces deteriorate because owners treated them like a solid broadloom expanse. The difference is that each square can be removed, rinsed, and swapped with a reserve tile. That ability changes your cleaning calculus completely.
Deep Cleaning Methods for Stubborn Stains
A dried stain is not a surface mark anymore; it is a residue that has bonded with the fibre shaft and seeped into the backing system. Surface wipes fail on old spills because they only address the upper face. For carpet tiles 40cm x 40cm, deep cleaning changes course entirely since you can isolate one square and treat it without disturbing the surrounding floor.
Hot water extraction with a handheld wand works after a proper dwell time. Apply a pre treatment, cover the area with plastic wrap, and wait ten minutes. The steam pressure then lifts the dissolved soil without pushing it deeper into the tile structure.
- Cold water extraction tests how deeply the residue has travelled into the pile
- Hot water extraction is suitable only after colourfastness checks on a spare tile
- A vinegar rinse neutralises the alkaline detergent residue left behind
Oil based marks respond to solvents matched to their polarity, while protein stains require enzymes that digest the organic matter. Generic all purpose cleaners rarely achieve either outcome. The modular construction of carpet tiles 40cm x 40cm permits targeted intervention that remains impossible on a wall to wall expanse.
Seamless Replacement of Damaged or Worn Tiles
The true genius of modular flooring reveals itself when disaster strikes. A dropped kettle, a dragged filing cabinet, or a rogue chair castor can leave one tile looking ten years older than its neighbours. With carpet tiles 40cm x 40cm, that single square becomes a removable problem.
Slide a utility knife along the seams, lift the damaged tile, and scrape away any adhesive residue from the subfloor. A fresh unit clicks or sticks into the same cavity. Within a day, the pile fibres relax and the patch becomes invisible to the naked eye. This seamless replacement cycle means a floor never fully ages out.
Always purchase a few spare tiles during the original installation. Store them flat in a cool, dark space so they retain their exact dye lot. Rotate heavily trafficked squares into quieter corners every few years. The entire surface then wears evenly, and your carpet tiles 40cm x 40cm remain uniform in colour and texture for decades.
Design Inspirations and Practical Applications
Home Office and Study Room Setups
The study is where concentration meets its own reflection. Carpet tiles 40cm x 40cm offer a grid that does not demand effort, yet it quietly structures the room. I have found that the modular nature of these tiles allows a deliberate visual break between the desk zone and the reading corner, without a single wall.
Consider these arrangements:
- Two complementary tones in alternating squares create a subtle pathway that guides the eye toward the window.
- A darker border around a lighter centre anchors the desk as the focal point.
The true value of carpet tiles 40cm x 40cm in a home office is their capacity for change. When the project shifts, the floor can shift with it. Replacing a few stained tiles near the coffee cup, or swapping the palette entirely, requires no grand renovation.
Basement and Garage Transformations
Basements and garages often show neglected floors. These spaces hold potential for workshops, gyms, or retreats. Carpet tiles 40cm x 40cm impose order where concrete once dominated. The modular grid turns cracks and stains into a deliberate surface.
A garage floor arranged as a chequerboard of charcoal and slate grey handles vehicle traffic and hobbies alike. For a basement, a herringbone layout suits low ceilings and directs the eye to a seating area.
Practical applications:
- Border a workbench zone with contrasting tiles.
- Reflect light with lighter tiles near windows.
- Leave an expansion gap in damp areas.
Treat these rooms as extensions of the home, not afterthoughts. Carpet tiles 40cm x 40cm allow you to experiment without commitment. When the treadmill moves, the floor adapts.
Renter Friendly Temporary Flooring Ideas
Renting in South Africa means negotiating floors you will never own. The landlord’s painted concrete or worn vinyl simply sits there. Carpet tiles 40cm x 40cm offer a practical answer. They lay loose, needing no adhesive, and they slide away before the inspection.
Design inspiration comes from the available space. A diagonal grid across a lounge floor feels deliberate. A border of dark tiles around a bed separates sleep from the rest of the room. For practical applications, the renter’s tool is restraint:
- Place tiles only in high traffic paths
- Use contrasting edges to mark a work zone
- Keep extra tiles for damage without stress
The floor changes when you move out. No residue, no argument. That quiet finality suits a Melville studio or a Durban cottage.
Mixing Multiple Colors to Create Custom Patterns
A checkerboard floor carries a quiet confidence. Scatter the colors instead, and the same carpet tiles 40cm x 40cm create a floor that shifts as you move through the room. The pattern defines the room’s character without overwhelming the furniture.
Practical application follows the same logic. Use dark tiles to anchor a seating area. Let lighter shades extend toward natural light. The modular nature allows you to mix colors without commitment, adjusting until the composition feels right. That freedom is the real reward!
- Alternate two colors for a traditional grid
- Cluster four tiles in a quadrant for a larger motif
- Run a single accent color along a wall to define the perimeter
Achieving Smooth Transitions Between Adjoining Rooms
The threshold between a tiled entryway and a carpeted lounge often creates a visual rupture. Carpet tiles 40cm x 40cm eliminate that abrupt break by inviting you to design a continuous gradient. I find the most effective method is to carry the same tile line through the doorway, then rotate a row of tiles at the receiving room’s edge to signal the change. This subtle shift preserves sightlines while defining territories.
For a more pronounced demarcation, consider these strategies:
– Install a one-tile-wide border along the architrave in a deeper tone.
– Alternate the horizontal and vertical orientation every other row for a woven effect.
– Introduce a third, muted shade to create a soft transitional buffer.
The modular grid allows for precise alignment, so the junction feels structural rather than improvised. This approach turns an awkward delimiter into an intentional architectural feature.


0 Comments